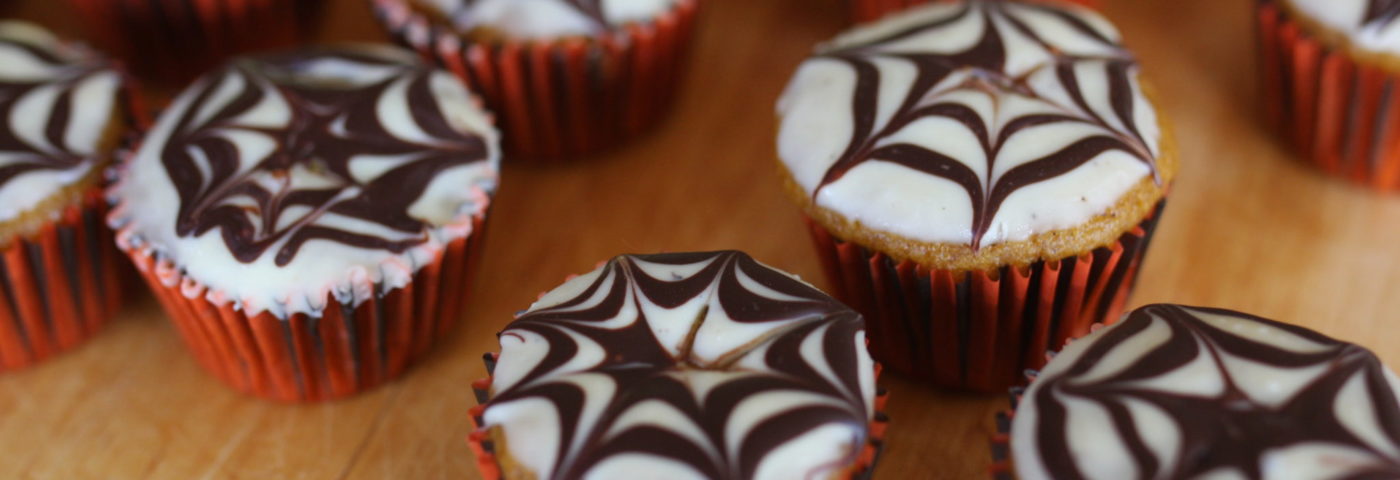
These small, pumpkin muffin bites are pretty tasty and perfect for halloween class parties or to give out at halloween. Simply, omit the walnuts if you are sending these to a nut-free zone, like school. Also, if you don’t need gluten free, use whole spelt flour instead of the gluten free mix.
I also use mini muffin halloween liners, found in the dollar store or bulk barn. I know, the colours on the paper are not good/not healthy, but for once a year, it’s ok (maybe). You can always buy dye-free ones, as I usually do.
gluten free optional, dairy free, nut free optional
halloween pumpkin muffin bites
325º, middle rack
DRY INGREDIENTS
• 1.5 cups Bob Red Mill’s All Purpose Gluten Free flour (or whole spelt flour)
• 1 1/2 tsp cinnamon
• 1 tsp baking soda
• 1 tsp ginger
• 1/2 tsp nutmeg
• 1/2 tsp salt
• 1/4 tsp cloves
• 1/4 tsp baking powder
WET INGREDIENTS
• 1 cup pumpkin puree (not pumpkin pie mix)
• 2 large eggs
• 1/2 cup honey
• 1/3 cup non dairy milk
• 1/4 cup sunflower (or coconut oil)
• 1/2 tsp vanilla extract
OPTIONALS
• 6 medjool dates, sprinkled with flour (helps separate and not sink in batter) and chopped
•1/2 cup walnuts, chopped
CHOCOLATE WEB ICING
• White Chocolate (I use Green & Black’s Organic bar)
• Dark Chocolate

COMBINE and whisk thoroughly, in a large bowl, the above dry ingredients.
COMBINE and whisk vigorously with danish whisk, in a medium bowl, the honey & oil.
MIX in vanilla & milk.
BEAT in the eggs.
ADD and combine the pumpkin.
ADD the options to the dry ingredients, if using.
COMBINE and gently mix the wet with the dry ingredients using a silicone spatula.
BAKE the middle muffins on centre rack in oven for 20 minutes. Test with a toothpick inserted into the centre, before taking them out. If it glides in and out without batter sticking, it is finished (it’s ok if a little bit sticks to the toothpick, you want them moist, not dry).
Allow the pan to cool at least 5 minutes before transferring the muffins to a cookie sheet to cool.
MAKING THE ICING
MELT white chocolate in a pyrex cup placed in a pot with water on low heat. Do the same for the dark chocolate.
REMOVE both pyrex cups from heat. (If you find at any time the white chocolate starts to thicken, you can set the pyrex cup back in the hot water/pot or back on the stove on low.)
Ideally, for the web you want an icing dispenser that you can squeeze like the Lekue one I have. Or, you can put it into a small plastic baggy and nip the tiniest hole at the end.
POUR the dark chocolate into your icing dispenser.
DIP the top of a muffin in the white chocolate. You may need to smooth it out with a knife however I find if you gently turn the muffin back and forth while dipping, the icing is evenly distributed.
Put the muffins back in the muffin tray and have little helping hands pipe the spiral on the muffins; or, I dip about 6 muffins and then pipe the spiral, and then allow the little helping hands to create the webs, using a toothpick (with a napkin in hand to wipe excess chocolate off the toothpick, while creating the web. This helps keep the cobweb looking its best.) SEE PHOTO FOR VISUALS.
TIP Always start the cobweb from the centre, moving outward. You want at least 6 lines.
STORE in airtight container. Can be frozen.
Enjoy!
![]()


