
Posts by: Anna Potvin


roasted new baby potatoes
Recipes
how gluten affects children’s health & behaviour
Health & Lifestyle
DIY bug spray
Health & Lifestyle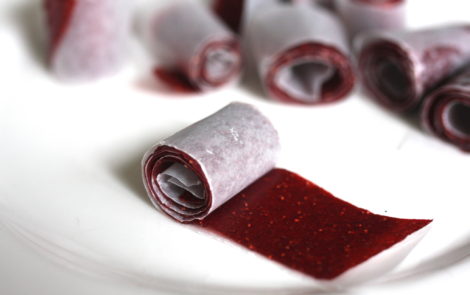
I find strawberry or raspberry recipes often call for straining out the seeds but I prefer to use the entire berry. I like the little pops from the seeds or it's also easy to puree them till smooth with a vitamix.
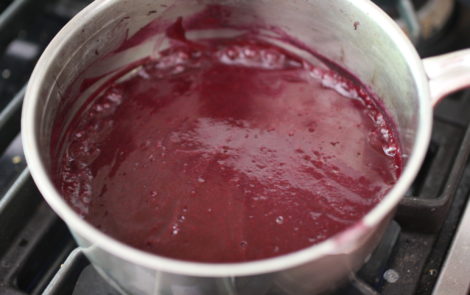
Bring blueberry puree to a boil and simmer for 10 min.
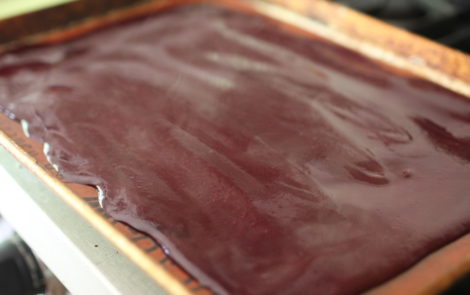
Don't pour right to the edge of the silipat, and make the edge slightly thicker as it dries out more.
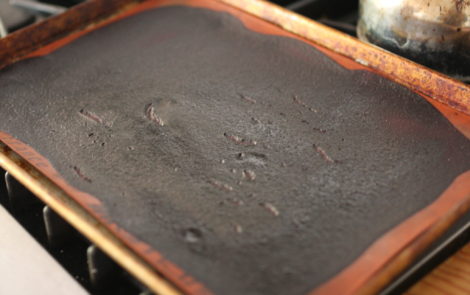
Took my kids for an after school picnic in the park so this stayed in the oven a bit too long. It didn't burn, it just got a bit hard on the edges. Nothing slicing off the edges didn't solve (and my kids loved the crunchy bits).
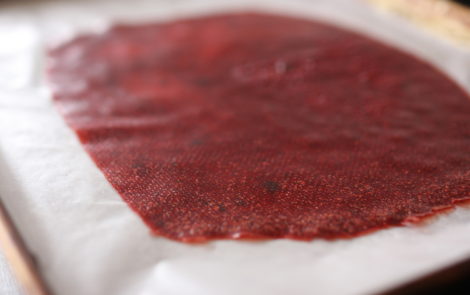
Strawberry leather ready to roll.
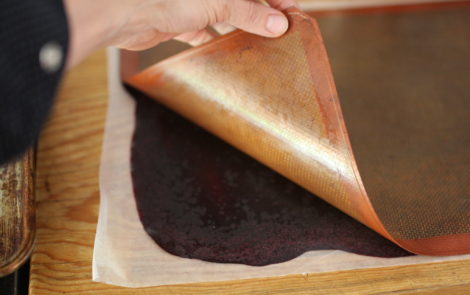
Peeling off the silipat from blueberry leather.
You can see the blueberry in the background was too soft. Was a bit of a dud batch. This is the batch I didn't air dry after it came out of the oven. But we ate them anyway (just not in public....black teeth are not attractive).
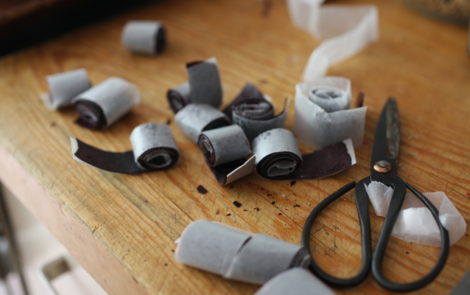
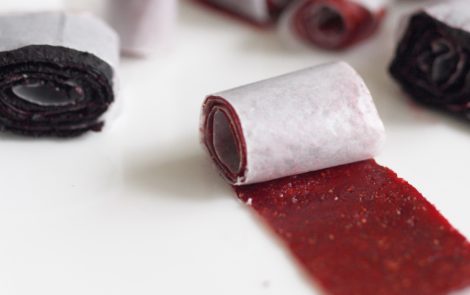
After you roll the fruit leather with parchment, cut with sharp scissors into rolls.

2nd batch of blueberry a success. I waited until the frozen berries were thawed before puréeing.

Store in snack cupboard in air tight container for up to a few weeks.
fruit leather strips
Recipes
Helping the kids with their gardens a few years ago. (I'm laughing because I've just suggested tot spot chairs for all the kids and here I have only one out and I'm using it, ha.)

Ok, here's a photo of them in their chairs. (They help keep everyone happy.) Taking a break and soaking in their hard work.

This is the chair. I bought six of these from $5-$15 on Craigslist and Kijiji.ca. They fold up and come with a carrying bag and are so well made. They hold adults, too, and are comfortable. We use them in our backyard for extra seating for kids, at the beach, parades, etc

OK, step 1. Dig a hole. Yup, pretty simple.

Step 2. Pour some water in the hole so the plant roots aren't sitting in dry soil.

Step 3. Have them turn their plant upside down, holding container with one hand, the other hand holding the base where the plant meets the soil.

Step 4. You want to loosen the pot-bound roots. Gently pull soil and roots apart with hands.

Step 5. Place plant into hole and move the dirt back into the hole and around the plant.

Step 6. Press down around the base of the plant to ensure it is securely stable and set in the dirt at ground level.

Step 7. Water! (In any position that works.) Get them watering in the mornings before the sun hits the garden for best water absorption.